
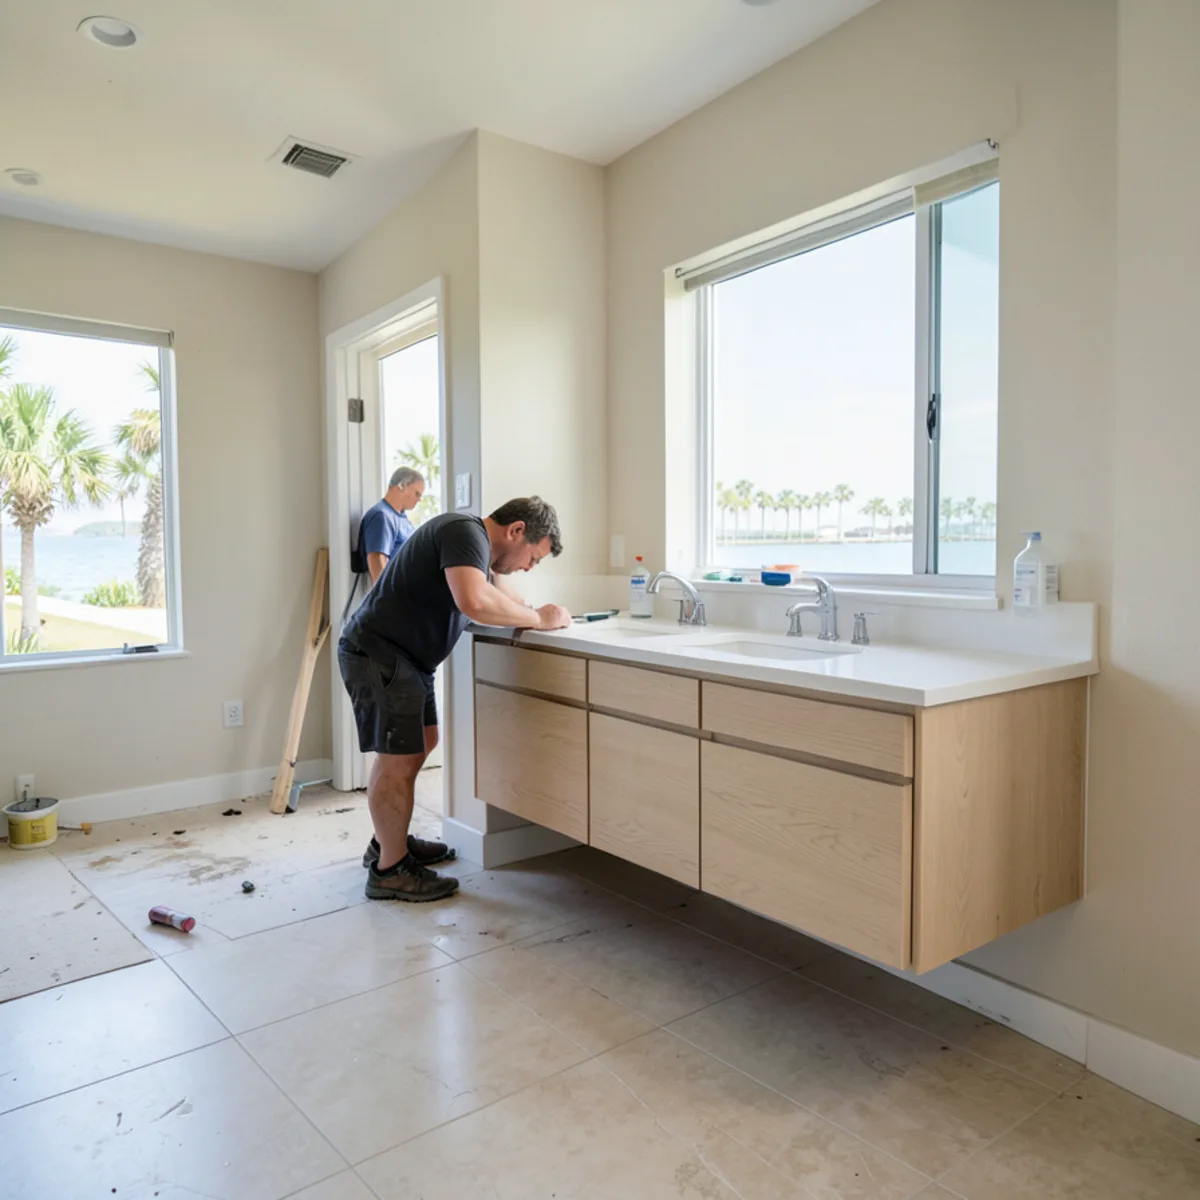
Condo vanity leak replacement follows a fixed order: stop the water, tell the association and the neighbor below, document and dry the bathroom, have the leak repaired, and only then measure for a new vanity built to fit the existing plumbing. Skipping ahead usually costs more, because a vanity installed against a wet wall can fail the same way.
Condos add steps a house does not have. Water travels through shared floors and walls, the association has rules about contractors and elevators, and the insurance responsibility is split between the building and the owner. This guide covers each step, from the first hour to the day the new cabinet is installed.
Condo Water Leak in the Bathroom: The First Hour
- Close the shutoff valves under the vanity. If they are stuck or the leak is behind the wall, close your unit’s main valve.
- Soak up standing water and pull everything out of the vanity so air reaches the cabinet floor.
- Call building management and knock on the door of the unit below; leaks often show up in their ceiling first.
- Photograph the leak point, the cabinet interior, the floor and any wall staining before anything is removed.
- Notify your insurer and write down who you spoke to and when.
Most vanity leaks start at a supply line, a faucet connection or a drain slip joint. A licensed plumber should repair the source before any cabinet work is planned.
When the leak is fixed and the bathroom is drying, call (239) 545-0550 to schedule a measure.
Call (239) 545-0550Who Pays for Condo Association Water Damage?
It depends on your declaration, the association’s master policy and your own unit-owner policy. Florida’s Condominium Act, Section 718.111 of the Florida Statutes, sets out how insurance duties are divided, and it lists items such as built-in cabinets and countertops among the things generally excluded from the association’s property coverage. Your documents and policies decide the details.
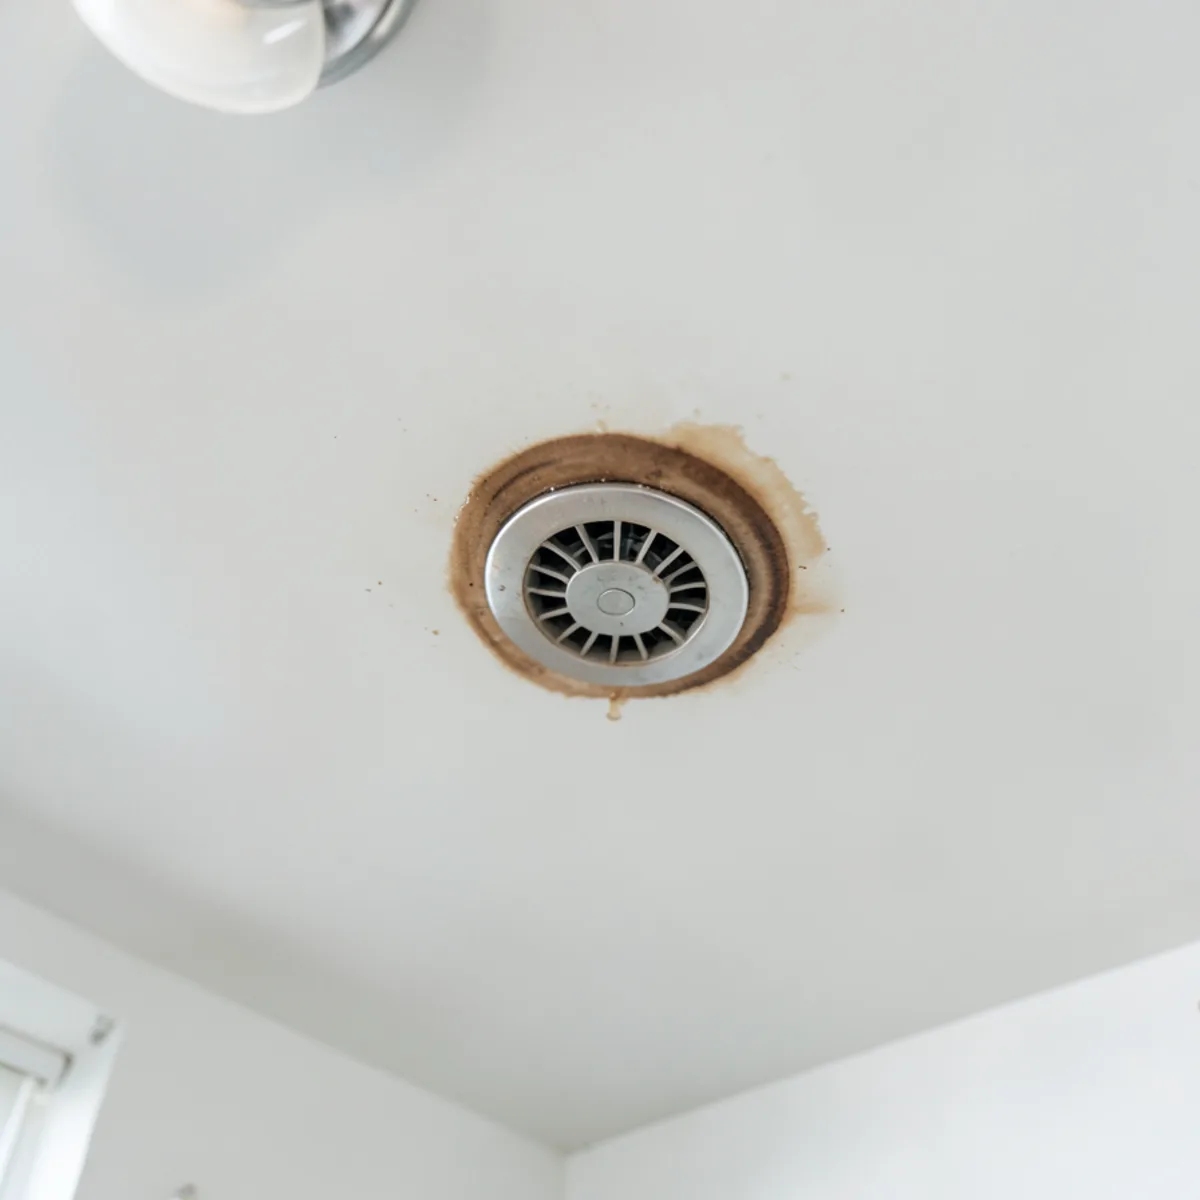
Where the leak started also matters, particularly when it damages the unit below. Ask your association manager and your insurer how they handle it, and keep copies of every notice. We do not interpret policies or act for either side; we measure, design and replace the cabinetry once you know who is responsible.
What the statute says about the vanity itself
Section 718.111(11)(f) says the association’s property insurance must exclude certain items inside a unit that serve only that unit, and that those items and their insurance are the unit owner’s responsibility. The list is directly relevant to a vanity leak:
| Item in the bathroom | Who insures it under 718.111(11)(f) | What to check in your own documents |
|---|---|---|
| Vanity cabinet and countertop | Unit owner (built-in cabinets and countertops) | Your unit-owner policy limits for building items |
| Floor tile and wall finishes | Unit owner (floor, wall and ceiling coverings) | Whether matching tile is still available |
| Light fixtures and exhaust fan | Unit owner (electrical fixtures) | Whether an electrician must reconnect them |
| Drywall, framing and pipes inside the walls | Generally the association’s master policy | Your declaration and the master policy deductible |
Section 718.111(11)(j) adds that when damage is caused by an owner’s or occupant’s intentional conduct, negligence or failure to follow the declaration, that owner pays the repair costs insurance does not cover, including damage to other units. That is why records of when the leak started and when it was reported matter.
Condo Vanity Leak Replacement, Step by Step
- 1
Dry and inspect
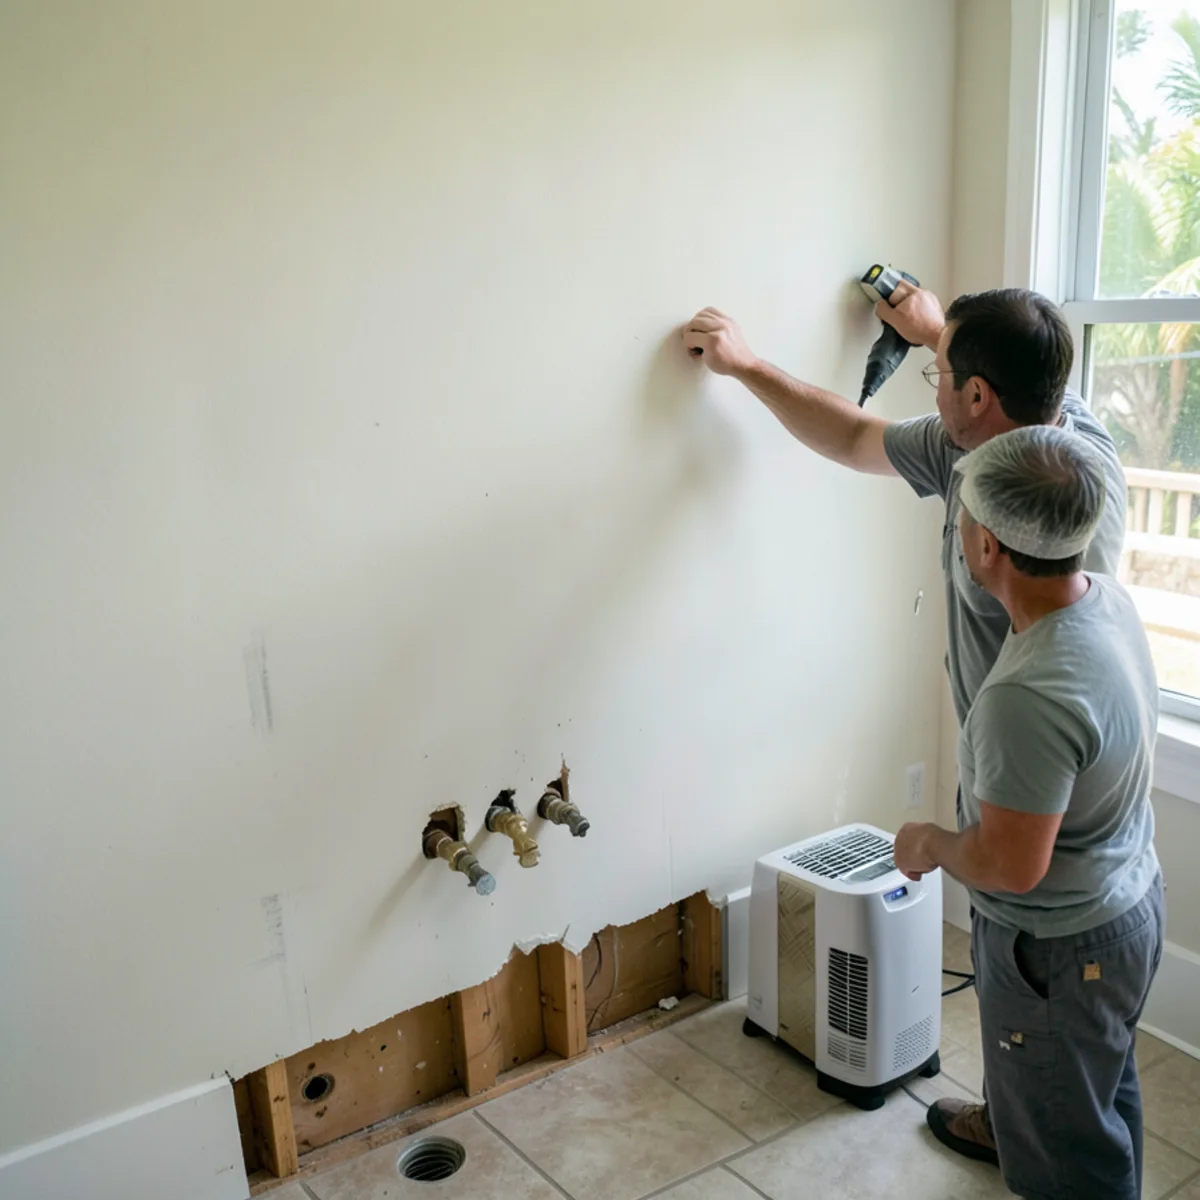
With the vanity emptied, the wall behind it and the floor beneath need to dry. A moisture meter shows when they have.
- 2
Remove what is ruined
Swollen particleboard boxes come out, and wet drywall behind them is cut back so the cavity can dry and be inspected.
- 3
Technical visit
We measure the opening, the drain and supply positions, the outlet locations and the mirror wall.
- 4
3D design
You see the new vanity, top and storage in the room before anything is ordered, including whether to keep the old footprint.
- 5
Association scheduling
Delivery and install are booked within the building’s permitted work hours, with elevator reservations if required.
- 6
Delivery and installation
The vanity is set, leveled and anchored, the top goes on, and your plumber reconnects the fixtures.
Our water-damaged vanity replacement page has more detail on materials that hold up in humid bathrooms.
Which Parts of a Leak-Damaged Vanity Can Be Reused?
| Part | Often reusable? | Notes |
|---|---|---|
| Stone or quartz top | Sometimes | Only if it lifts off intact and fits the new cabinet footprint |
| Undermount sink | Sometimes | It stays glued to the top; inspect the clips and sealant |
| Faucet | Often | Your plumber can judge whether to reuse it |
| Particleboard cabinet box | Rarely | Swelling at the base is permanent |
| Supply lines and valves | No | Replace them, especially if they caused the leak |
Reusing a top saves material but locks the new vanity to the old size. Many owners use the leak as the moment to choose a new top as well. Our checklist for judging water-damaged cabinets helps with the box itself.
Which Vanity Materials Hold Up Best in a Humid Condo Bathroom?
A replacement vanity faces the same shower steam and the same supply lines as the one that failed. Box and top choices decide how the next small leak plays out:
- Melamine-faced particleboard: affordable and easy to clean, but any water that reaches a cut edge or screw hole swells the core.
- Moisture-resistant board with sealed edges: better tolerance for humidity at a modest step up; edges and cutouts still need sealing.
- Plywood boxes: hold screws well and often dry flat after a brief clean-water leak; they cost more and still need a finished interior.
- Wall-hung (floating) vanities: keep the box off the floor, so mopped or leaked water does not wick into the base, but the wall must have solid backing for the anchors.
- Quartz or solid-surface tops with an integrated or undermount sink: fewer seams for water to find than a drop-in sink in a laminate top.
Behind any of these, a dry wall and new supply lines matter more than the box material itself.
How Do Condo Rules Shape the Installation?
- Approval: some associations want a written description of the work and contractor paperwork before anyone enters the building.
- Work hours: many limit noisy work to weekday daytime hours.
- Elevators and parking: deliveries may need a reserved service elevator and a loading spot.
- Debris: the old vanity usually has to leave the property, not go in the building dumpster.
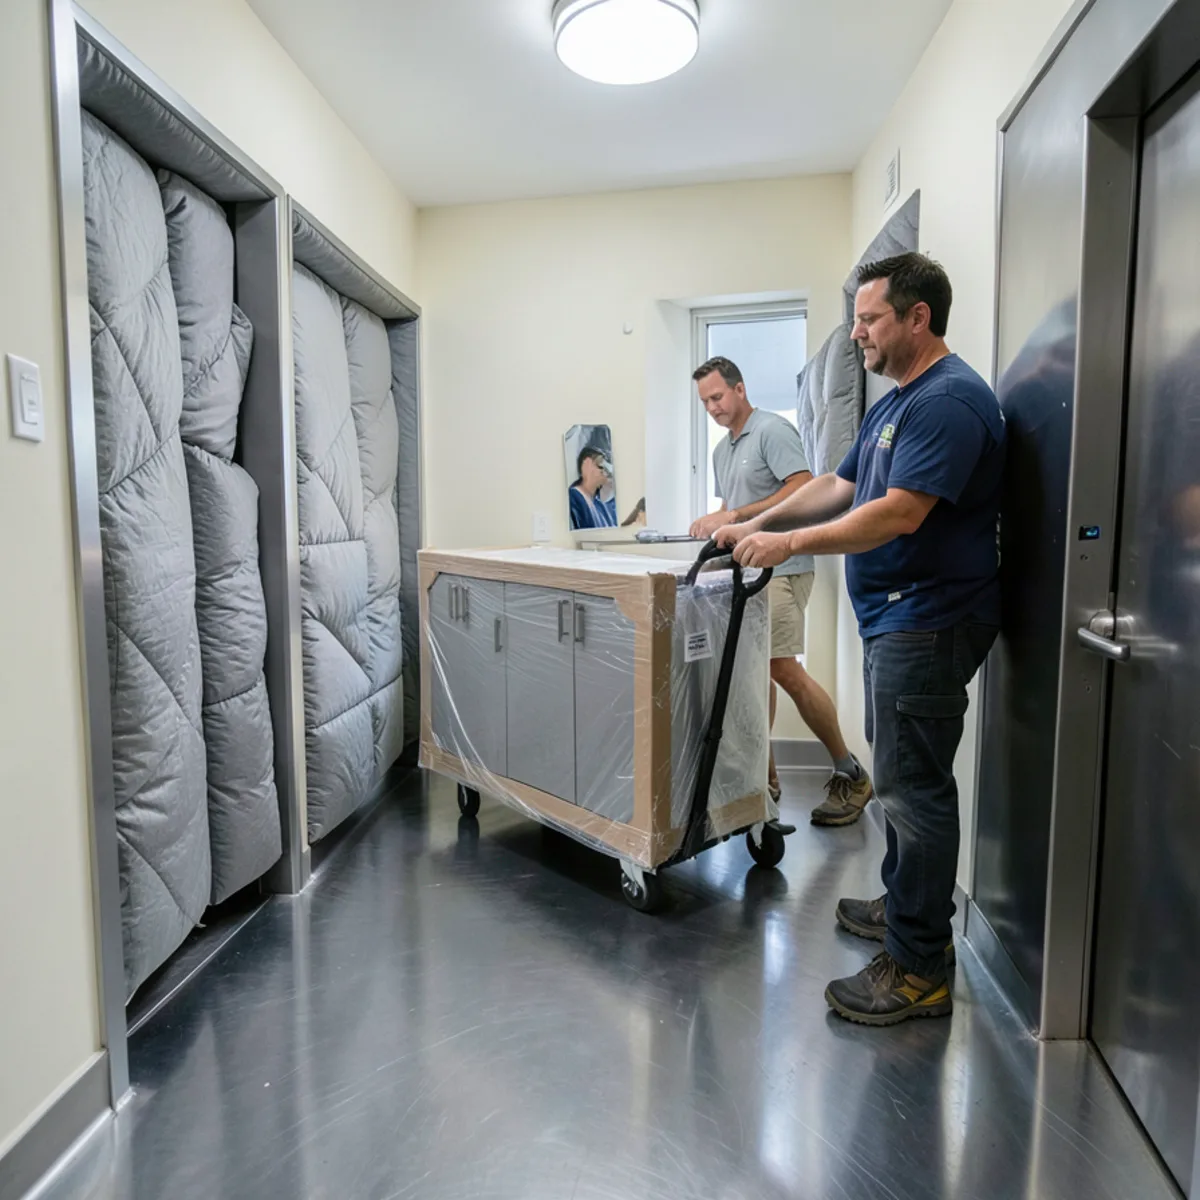
In villa and condo communities around The Meadows, most associations manage these rules through a property manager. In the Gulf-front towers of Longboat Key, elevator bookings and seasonal owners often set the schedule. We plan around both. For a larger bathroom update, see our custom bathroom vanities or the broader storm and water damage cabinet replacement service.
From our design team: fitting a new vanity to old condo plumbing
Condo plumbing rarely moves. Drains run through the slab or a shared chase, so the new vanity has to work around where the pipes already come out of the wall. At the technical visit we record the height and position of the drain and both supplies, then plan drawers and shelves so they clear them. A drawer that hits a trap is the most common mistake in replacement vanities.
A leak is also a chance to make the next one easier to spot. We can leave an open or removable panel at the back of the sink cabinet, plan a clear path to the shutoff valves, and choose box materials that tolerate humidity better than standard particleboard.
The main trade-off in a condo is speed against fit. Keeping the old footprint and plumbing positions usually means the fewest trades, the simplest association paperwork and the shortest time with a bathroom out of use. Changing the size or moving to a wall-hung vanity can solve storage or cleaning problems, but it may add a plumber, a drywall repair and new tile where the old cabinet stood. We price and draw both so you can weigh them side by side.
Questions readers ask
Do I need association approval to replace a bathroom vanity?
Often, yes, at least in the form of a notice to management, and some associations ask for contractor paperwork before work starts. Rules differ between buildings, so ask your property manager early. In Sarasota condo communities the approval process usually covers work hours, elevator use and debris removal more than the vanity design itself.
Can the new vanity be a different size from the old one?
Yes, within limits. The drain and supply lines set the sink position, and wall length, door swing and the toilet clearance set the overall size. Moving plumbing in a condo is possible but adds a licensed plumber, possibly a permit and association involvement. Our 3D design shows both the same-size and the resized option.
How do I know if the leak reached the wall behind the vanity?
Look for staining, bubbling paint or soft drywall at floor level once the vanity is empty, and check with a moisture meter. If the old cabinet back was wet, assume the wall behind it was too. The drywall is usually cut back and dried before the new vanity is measured for the final time.
Who repairs the ceiling in the condo unit below after my vanity leaks?
That depends on your declaration, both owners’ policies and the association’s master policy, and Section 718.111(11) of the Florida Statutes sets the framework. Report the leak to management and your insurer right away, keep dated photos, and let the adjusters sort out responsibility. Our role starts once the plumbing is repaired and your bathroom is ready to measure.
The bottom line
A condo vanity leak is two jobs: dealing with water, insurance and neighbors, then rebuilding the cabinet properly. Keeping them in order protects you from paying twice.
Once the leak is repaired and the bathroom is dry, call (239) 545-0550. We will measure the space, design the replacement vanity in 3D and schedule installation around your building’s rules.

Written by the FT Cabinetry design team
We design, supply and install custom modular cabinets from our Sarasota location at 2235 6th St. This guide reflects what we check at technical visits and installations; verify code and permit details with your building department. About FT Cabinetry.
Sources
Related services
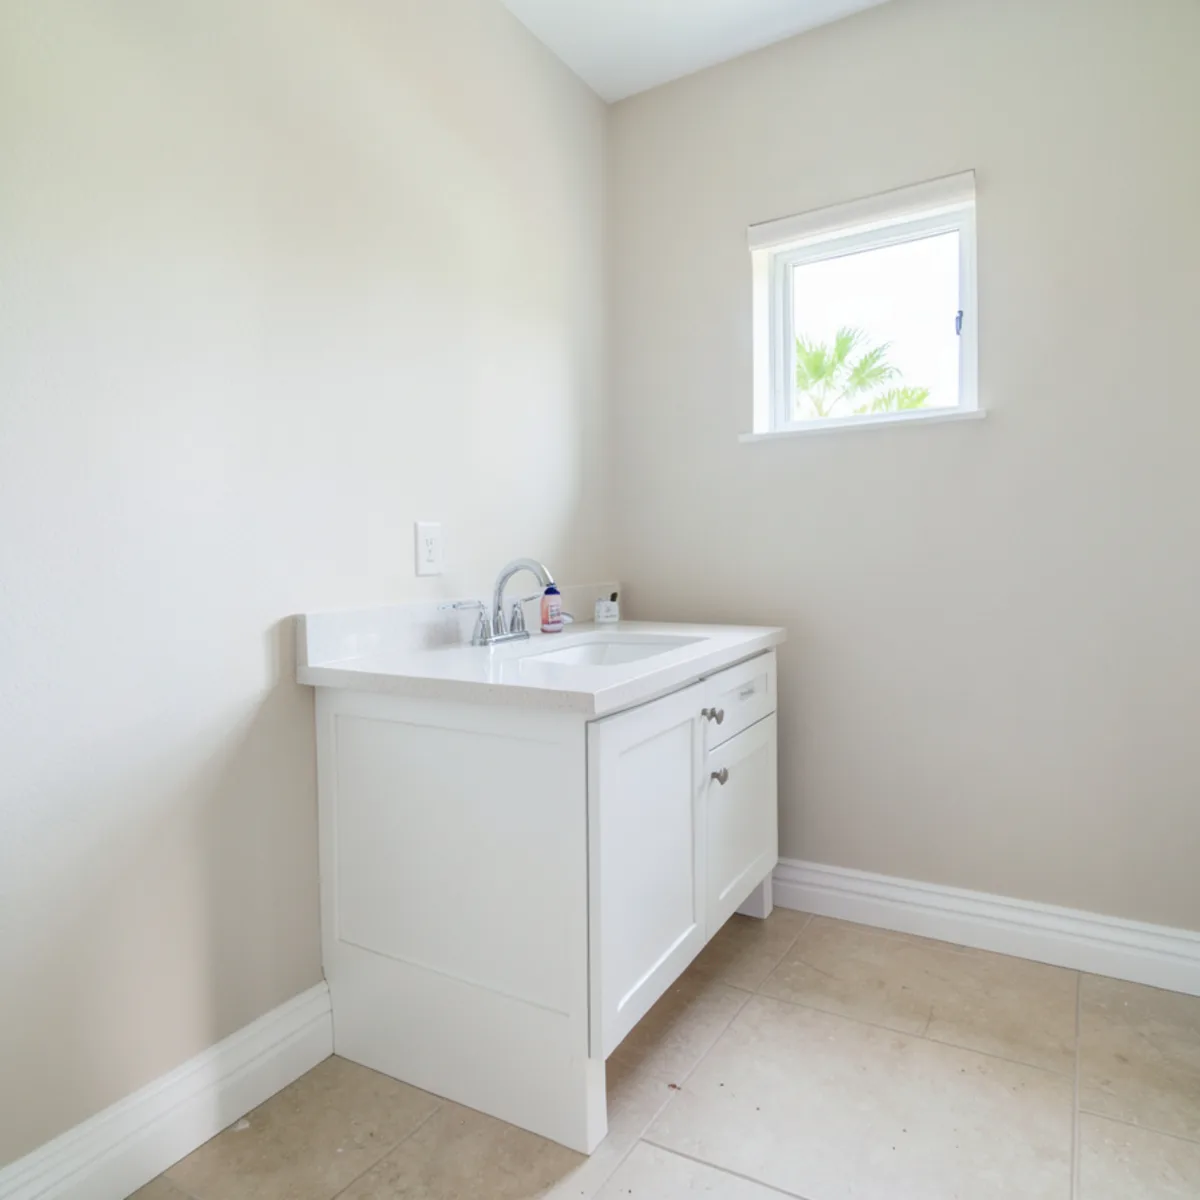
Water-Damaged Bathroom Vanities
Swollen, musty or delaminating vanity after a leak or flood? We measure, design and install a custom replacement.
Learn more →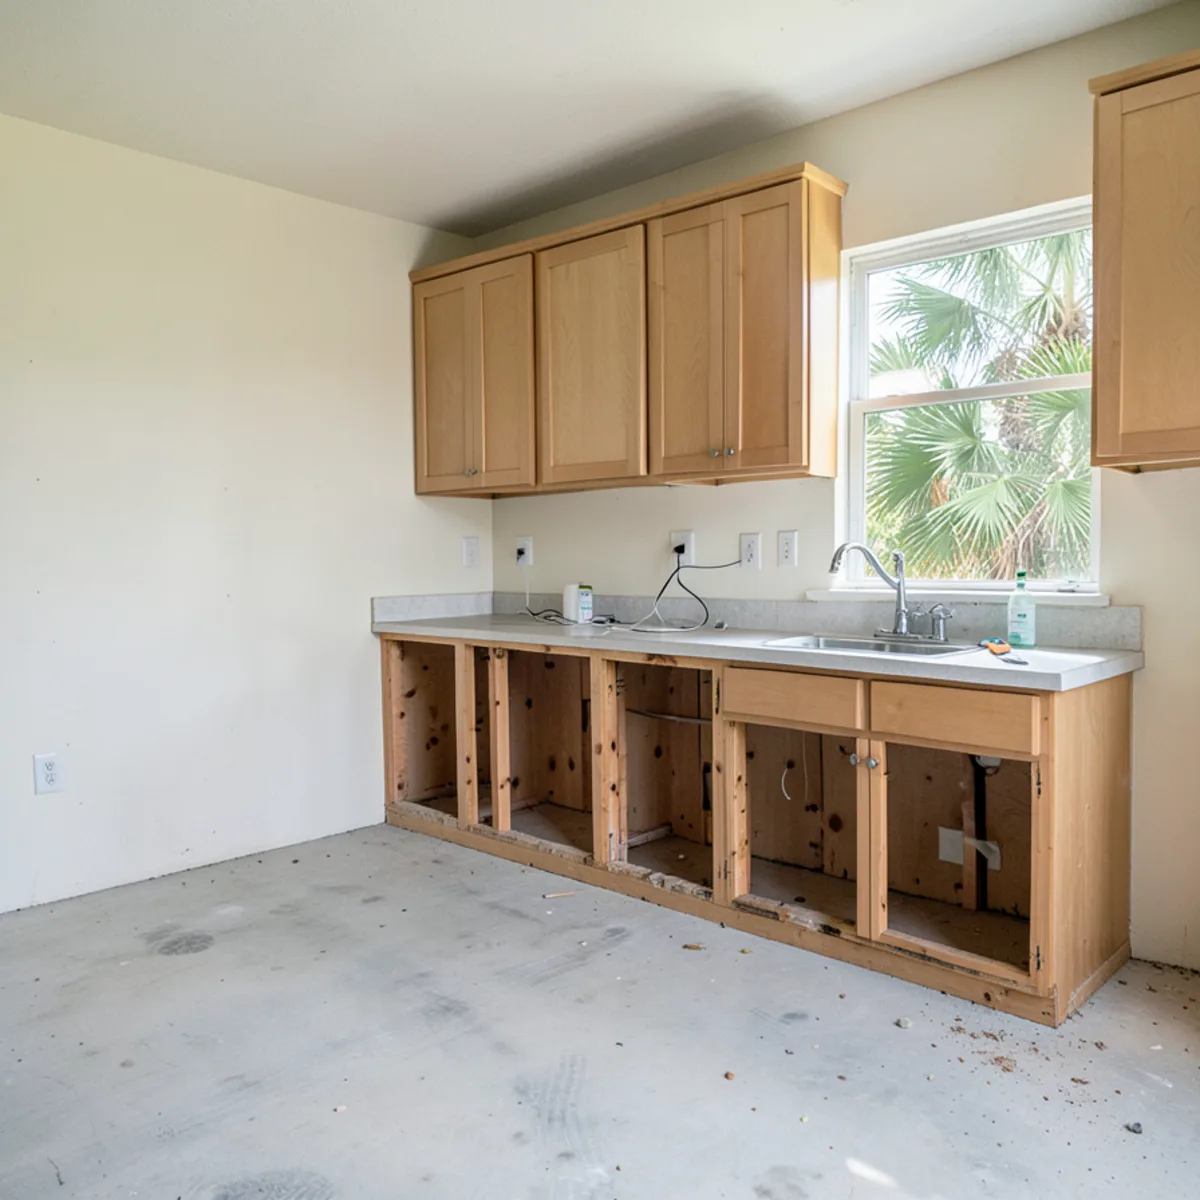
Storm Damage Cabinet Replacement
After a hurricane or flood: measured once the room is dry, redesigned in 3D and replaced with custom modular cabinets.
Learn more →Keep reading
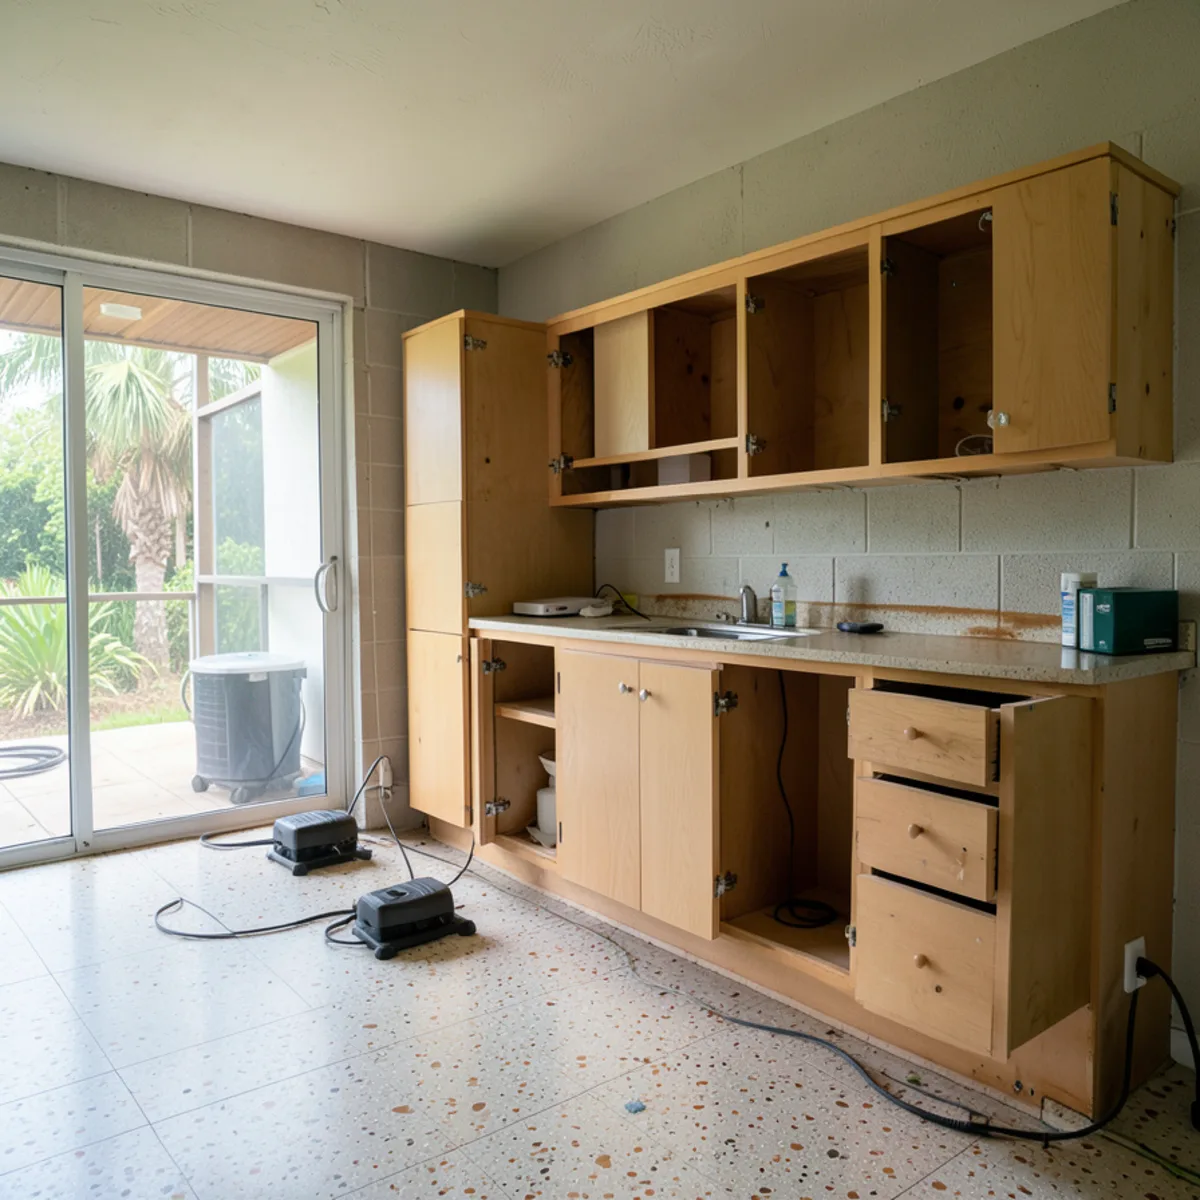
Flood-Damaged Kitchen Cabinets: What to Do First
After storm surge or a flood reaches the kitchen, the order of your first moves decides how much can be saved and how fast the room can be rebuilt.
Read the guide →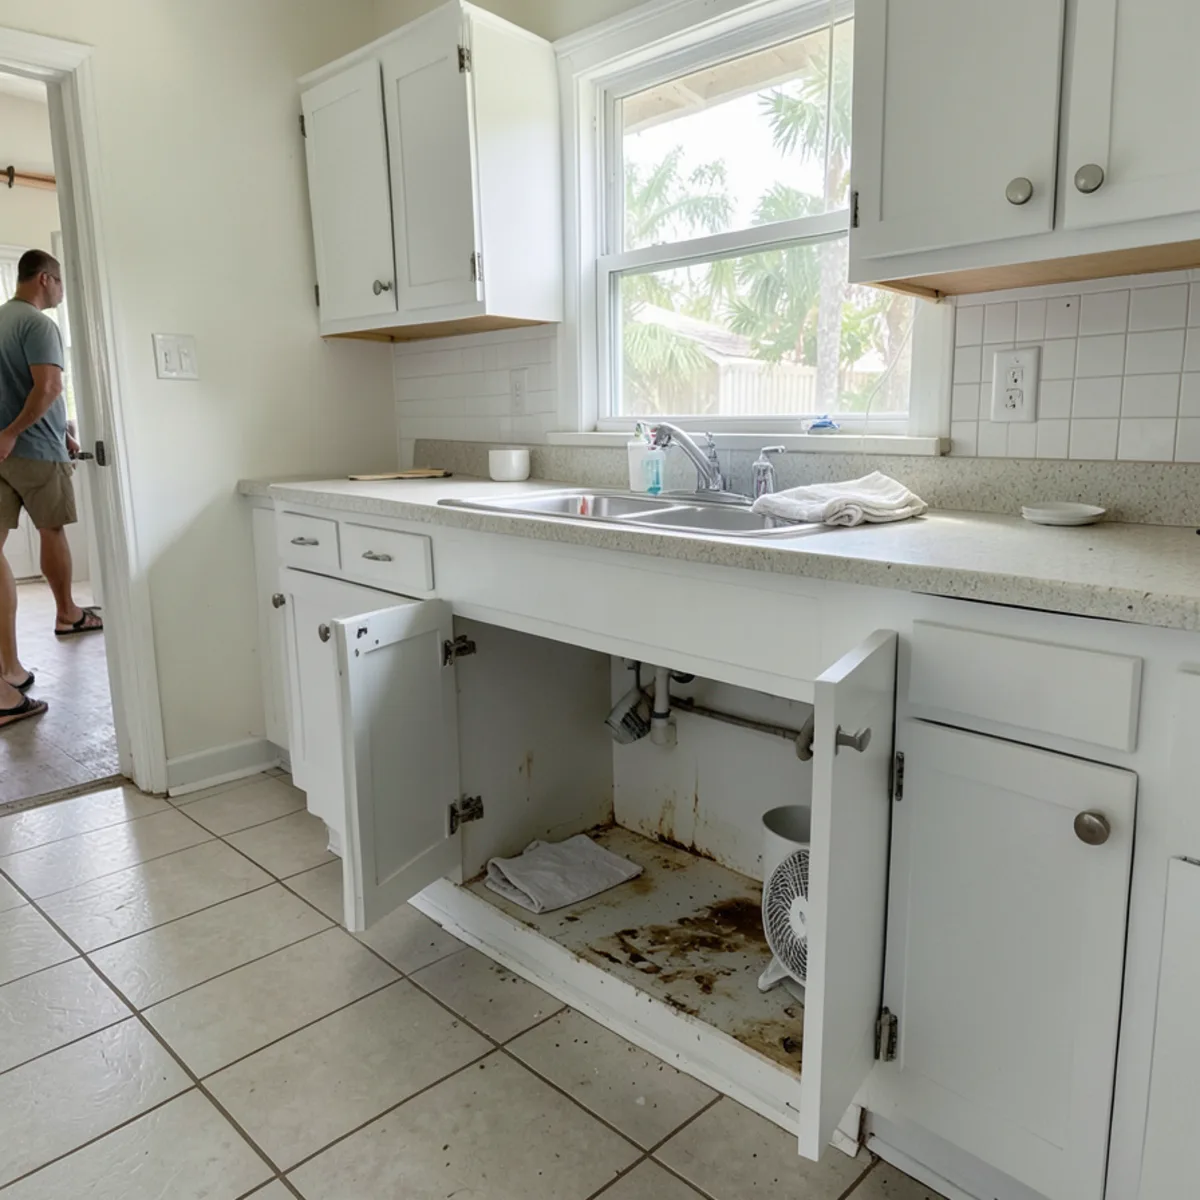
Can Water-Damaged Cabinets Be Saved? A Florida Checklist
Swollen particleboard, peeling doors and musty smells each tell you something different about whether a cabinet can stay.
Read the guide →